Self hosted location history
I am a big fan of being able to view the history of places that I have been to. Google location history is great in this regards. It records all the places you and you can view this on Google maps. But for some time now I have been removing Google more and more from my life and one of the first things to go was location history along with search and YouTube history. While I don't miss the others, not being able to view the location history has been a bummer.
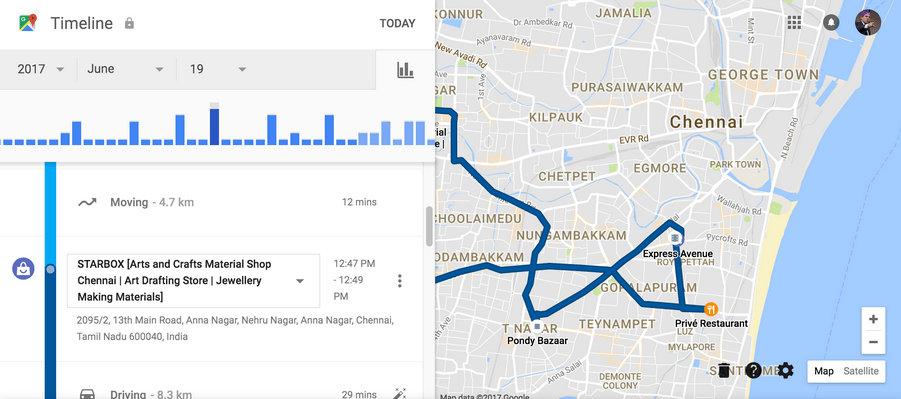
This is not my screenshot btw ;)
I was aware of possible alternatives, self hostable options but never got around to doing it. I finally decided to spend some time over this weekend and setup OwnTracks on my sever. It was a pretty painless setup. Went way smoother than I expected to be frank. I did a bit of research and after a while the two main options that I could find was OwnTracks and PhoneTrack from Nextcloud. While Nextcloud is pretty good, I did not want to setup a Nextcloud instance for this use case and so decided to go with OwnTracks.
Why track yourself? #
- You can find out where your phone is if you misplace it
- Kinda interesting to know where all you have been to
- Good way to know at what time you were at a certain place
- It is fun to hoard data
Setting it up #
Now that the initial fluff is done, let me get into the meat of this blog, how to self host OwnTracks. It consists of the following steps:
- Setup recorder as OwnTracks server
- Configure nginx to forward requests with auth
- Install and setup OwnTracks Android app (iOS if you are from that island)
- Setup and configure OwnTracks frontend for viewing location history
Setting up recorder #
I personally use nix to setup my server. I could not find OwnTracks on nixpkgs and so the first step for me is to package OwnTracks is to package it under nix. You can find my derivation on nur under meain.
{ pkgs, lib, fetchFromGitHub, ... }:

pkgs.stdenv.mkDerivation rec {
  pname = "otrecorder";
  name = pname;
  version = "0.9.1";

  src = fetchFromGitHub {
    owner = "owntracks";
    repo = "recorder";
    rev = version;
    sha256 = "sha256-/y74jfofvWTcHSX+9wtrCRclaS5Aw03TCz11mrZiqiM=";
  };

  nativeBuildInputs = with pkgs; [ mosquitto curl lmdb libconfig libuuid ];

  configurePhase = ''
    cp config.mk.in config.mk
  '';

  installPhase = ''
    mkdir -p $out/bin $out/usr/share/ot-recorder
    cp ot-recorder $out/bin/ot-recorder
    cp -R docroot/* $out/usr/share/ot-recorder
  '';

  meta = with lib; {
    description = "Store and access data published by OwnTracks apps";
    homepage = "https://github.com/owntracks/recorder";
    license = licenses.gpl2;
  };
}
Now that we have it packaged, let's setup our server with OwnTracks, again using nix. I'll try to explain how the same thing will be done on Debian/Ubuntu derivatives.
Firstly create a systemd service to keep OwnTracks recorder running. Something like below should be a good start. Just FYI, personal is my nur channel directly pulled from GitHub. We use -S specify the data directory and --doc-root to specify the basic frontend files that recorder serves on /. I also pass in --port 0 to disable the MQTT part. You can also pass these in a config file if you want. With that, your server is up and ready to go.
systemd.services.owntracks = {
  enable = true;
  description = "Store and access data published by OwnTracks apps";
  wantedBy = [ "multi-user.target" ];

  serviceConfig = {
    WorkingDirectory = "${personal.otrecorder}";
    ExecStart = "${personal.otrecorder}/bin/ot-recorder -S /home/meain/owntracks-data --doc-root usr/share/ot-recorder --port 0";
  };
};
Here is a systemd service file for when using something like Ubuntu
Configuring nginx #
We can directly expose it, but in my case I wanted put some restrictions. I wanted to only expose /pub (this is the endpoint where we push/publish updates) and also add basic auth. Below is what the config will look like. You can uncomment the commented section to expose / as well (this will give you a very basic frontend). This sets up the subdomain tracking.example.com to proxy request to OwnTracks recorder. One additional thing that you will have to do is to create a passwords file by running sudo htpasswd -c /etc/nginx/htpasswd owntracks . This will prompt you for a password and once done, it will save the hashed password to /etc/nginx/htpasswd with the user as owntracks.
services.nginx.virtualHosts."tracking.example.com" = {
  enableACME = true;
  forceSSL = true;
  # use to serve owntracks basic ui (not owntracks/frontend)
  # locations."/".extraConfig = ''
  #   auth_basic "OwnTracks pub";
  #   auth_basic_user_file  /etc/nginx/htpasswd; # sudo htpasswd /etc/nginx/htpasswd owntracks
  #   proxy_pass http://localhost:8083;
  #   proxy_http_version 1.1;
  #   proxy_set_header Host $host;
  #   proxy_set_header X-Real-IP $remote_addr;
  #   proxy_set_header X-Forwarded-For $proxy_add_x_forwarded_for;
  # '';
  locations."/pub".extraConfig = ''
    auth_basic "OwnTracks pub";
    auth_basic_user_file  /etc/nginx/htpasswd;
    proxy_pass http://localhost:8083;
    proxy_http_version 1.1;
    proxy_set_header Host $host;
    proxy_set_header X-Real-IP $remote_addr;
    proxy_set_header X-Forwarded-For $proxy_add_x_forwarded_for;
  '';
};
If you are using Ubuntu, you can just have what is there under locations."/pub".extraConfig in your nginx config under location /pub for your domain.
Setting up Android app #
Well, this is the simplest part. Download the app from FDroid or Play Store. There is a little bit of setup to make it aware of the server. Navigate to Preferences > Connection and setup the following:
- Set
ModeasHTTP(Good ol' Hyper Text Transfer Protocol) - Set
Hostashttps://tracking.example.com/pub(use your subdomain here) - Set
Identification.Usernameas the username you set (owntracksif you just followed the blog) - Set
Identification.Passwordas the password you set (B6H8^aR%#%pxv8y3eXNQS%RBRy^Sveif you want a good one) - Set
Identification.DeviceIDas the name of your device (ElectricClockif you want a good one)
Well, with that you are all set to track yourself. Now to viewing the data.
Setting up the frontend #
You can find the code for the frontend here. I personally did not want to setup a frontend on the VM. What I do instead is to tunnel directly to the recorder server via ssh and use it to view my data when I want. But it basically is just a Vue bundle which you can build to a static set of files and serve over anything. One thing you might wanna look into is setting the server address in src/config.js ref. You can find more instructions on how you can set it up on their GitHub.
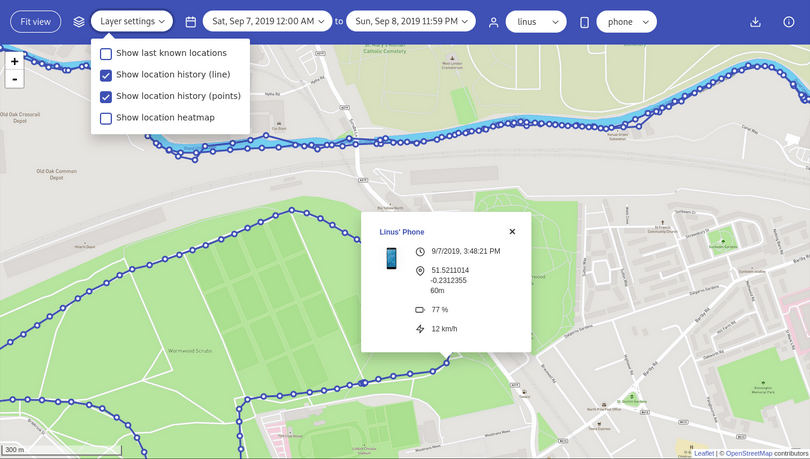
Again, not my screenshot :D
Aaaand you are done. I personally am happy with this setup for now, gives me both piece of mind as well as location history :D.